Improve sound quality with an active crossover — no high-end price tag required.
Still relying on passive crossovers in your system? You could be sitting on a goldmine of untapped sound—just waiting to be unlocked.
Why This Upgrade Makes Sense Now
As gear prices climb, more audiophiles are exploring DIY speaker upgrades that deliver real performance gains without breaking the bank.
Switching to an active crossover system is one of the most effective, budget-friendly ways to instantly improve sound quality — and bring new life to your favorite tracks.
Step 1: Understand the Power of Bi-Amping
Bi-amping replaces your speaker’s internal passive crossover with an active crossover placed between the preamp and power amps. Each amp drives one driver directly—tweeter, midrange, or woofer—without crossover components interfering.
Why is this a big deal?
Because passive crossover problems are real:
Up to 50% of your amp’s power is lost as heat
-
Components like capacitors and inductors can drift with temperature
-
Intermodulation distortion muddies your soundstage
-
Channel phasing issues affect timing and precision
- Costly speaker cables are often needed just to offset signal loss
With active bi-amping, you skip all that. You get cleaner separation, tighter bass, and crystal-clear highs, even at lower volumes.
Step 2: Gather What You Need
To convert your system to active bi-amping, here’s what you’ll need:
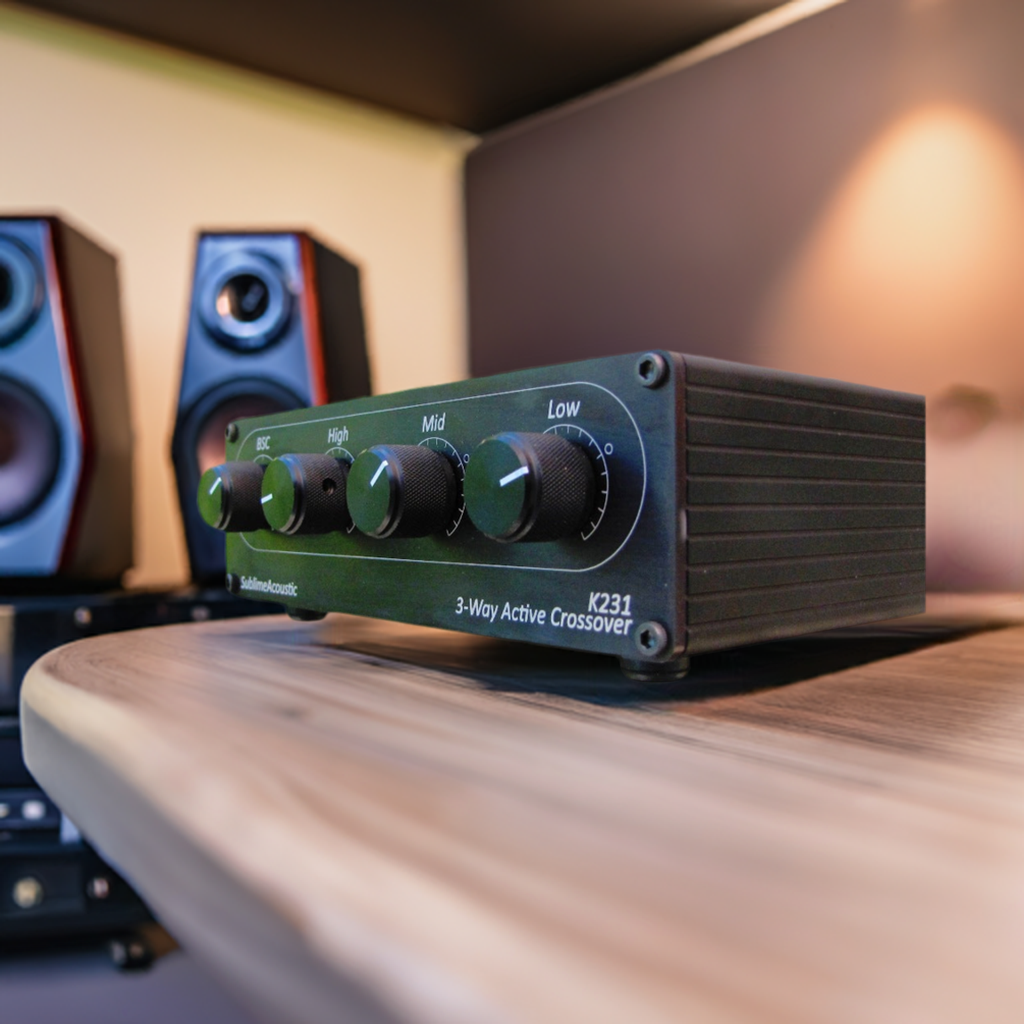
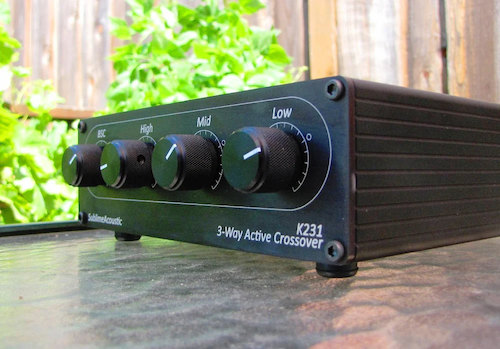
An active crossover unit
We recommend the Sublime Acoustic K231—a high-quality, analog 3-way active crossover designed for audiophiles. It delivers sharp 24dB/octave roll-offs and ultra-low distortion (0.00005% THD).
A pair of stereo amplifiers (or multi-channel amp)
One for the highs, one for the lows. Bi-amping allows you to tailor power amps to your drivers—use a clean tube amp for the tweeters and a solid-state amp for your woofers.
Bi-amp-ready speakers
Most modern speakers have dual binding posts. If not, you can bypass the passive crossover with a little DIY work or technician support.
Your existing preamp and cables
No exotic wiring required—just smarter signal routing.
Step 3: Set It Up and Tune It In
Here’s how to put it all together:
Signal Chain Setup:
Preamp → Active Crossover → Amplifiers → Drivers (tweeters/woofers)
Adjust gain controls:
Active crossovers like the K231 include potentiometers to match the gain between channels. No more “padding” resistors that waste amp power.
Choose your crossover frequency:
You’re not stuck with a “baked-in” crossover point like in passive systems. Simply swap the XO module on your active crossover and experiment until it sounds just right.
Once it’s dialed in, you’ll hear an immediate jump in clarity, imaging, and detail. The stereo field expands. Background instruments pop. Vocals become pinpoint accurate.
Quick Wins from DIY Bi-Amping
-
Cut amp power waste by 50%
-
Avoid costly passive components and oversized cables
-
Minimize distortion and heat-related signal drift
-
Get sharper imaging and deeper, cleaner bass
-
Easily adjust crossover points and gain levels
-
Mix amp types for custom tonal control
- Upgrade your system with a single, affordable step
Final Word: This DIY Upgrade Punches Way Above Its Price
Bi-amping with an active crossover isn’t just for pro audio engineers or $20K systems.
It’s a DIY-friendly, affordable way to unlock professional-level performance from the gear you already own. Once you hear what your system is truly capable of, there’s no turning back.
Ready to Try Bi-Amping for Yourself?
Leave a comment
All comments are moderated before being published.
This site is protected by hCaptcha and the hCaptcha Privacy Policy and Terms of Service apply.